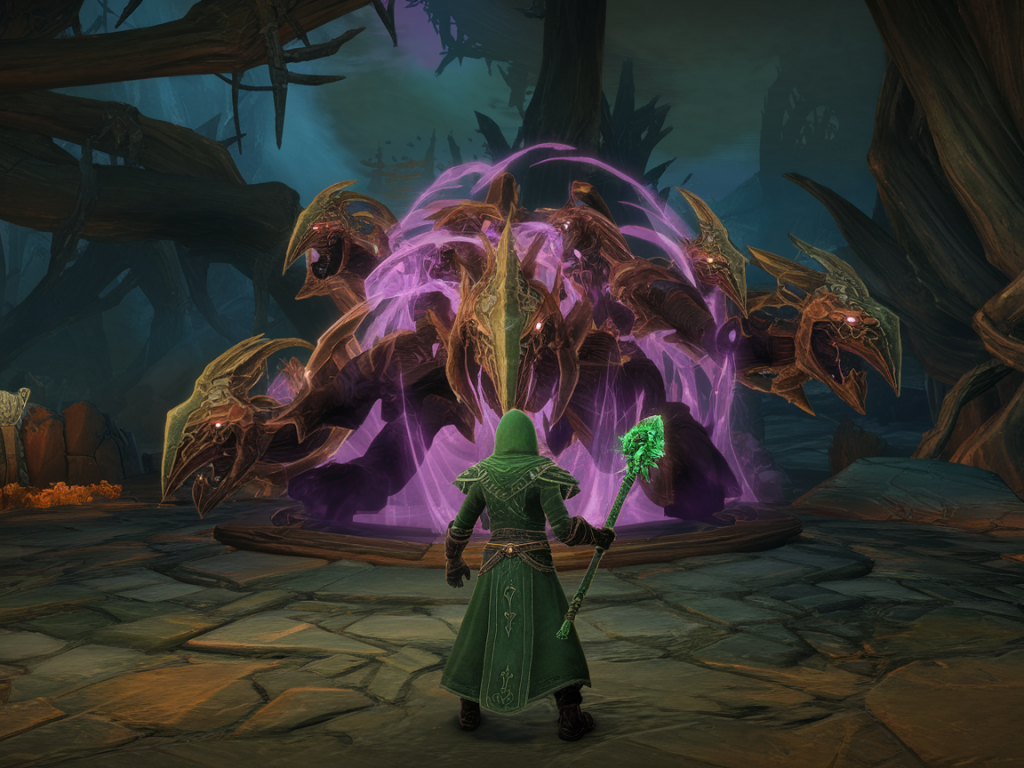
I don’t know about you, but there’s a particular thrill in beating an Elden Ring boss solo — no summons, no notes, no walkthroughs. Just you, your build, and a handful of hard-earned nerves. The new boss that’s been chewing up my stamina bars lately is brutal, but after a few hundred attempts (give or take), I found a set of practical tactics that consistently tip the odds in my favor. If you’re trying to clear this fight without a summon or guide, here’s how I did it — plain, honest, and slightly blood-streaked.
Understand the fight before you learn the moves
First rule: stop treating the encounter like it’s about raw DPS. This boss is a pattern machine — a web of tells and phase transitions that punish greed. Your initial goal isn’t to kill it fast; it’s to survive long enough to learn patterns and force the boss into predictable windows.
Spend your first two or three runs purely as reconnaissance. Dodge, watch, and count what the boss does after each animation. Does it always follow a charge with a sweeping attack? Does it pause to roar, then teleport? Knowing the sequence makes the rest of the fight feel less random and more like a broken record you can time your counter to.
Pick a forgiving build
Not all builds are made equal for solo, no-summon runs. I swapped from my glass-cannon Arcane bleed build to something that gives me room for mistakes: a medium-armor Strength/Endurance hybrid with a sturdier shield and a reliable proc weapon. Key qualities I look for:
- High poise and block stability: You’ll eat hits sometimes. The goal is to take fewer staggered hits so you can stay aggressive.
- Good stagger potential: Weapons that can interrupt or stagger the boss give you breathing room.
- Stamina management: Invest in Endurance or gear that boosts stamina recovery. You’ll be dodging a lot.
- Reliable ranged option: A bow or glintstone staff with a handful of spells or arrows helps when you need safe chip damage.
Rings and talismans matter: I recommend equipping anything that speeds up HP/FP flask usage, increases stamina regen, or improves damage reduction. For me the Flask of Wondrous Physick with an HP regen mix has been a lifesaver in long fights.
Essential gear and consumables
If you’re serious about going in solo, take the time to prepare the right tools. These aren’t fancy meta items — they’re practical and often overlooked.
- Stamina-boosting talismans: Anything that gives +stamina or faster regen is worth it.
- Bleed and frost resist: If the boss deals status, stack resist where possible. Immunity items aren’t always needed but they take the edge off.
- Poison/bleed cure items: Bring a few Antidotes or Preserving Boluses if the boss uses toxin/bleed.
- Spirit ashes (optional): I know this is a no-summon run, but ashes count as an NPC assistance in-game mechanics only — if you’re strictly avoiding any help, skip them. Otherwise, their job is to distract, not to kill.
- Bolts or ranged spells: Use a safe, consistent ranged option to punish mistakes from distance.
Master the movement — position like a pro
Positioning is everything. This boss has a handful of attacks that punish lateral movement and a few that only punish direct frontal dodges. My movement philosophy for this fight:
- Stay at mid-range where you can see the boss clearly but aren’t in reach of its sweep chains.
- Keep circling to the boss’s left — most of its telegraphed moves favor attacks toward its right, so circling left gives you cleaner dodges and better counter windows.
- When the boss lifts for a heavy strike or breath, sprint out of range and bait the recovery animation. Those recoveries are your real damage windows.
Reset the rhythm with patience
There’s a rhythm to this fight: the boss will chain combos until it slips into a long cooldown. Your job is to spot that cooldown and use it to either heal, apply buffs, or land your heaviest hits. Don’t force a hit unless you’re sure you’ll survive the follow-up. If you’re low on health and the boss has a long recovery, it’s perfectly valid to heal mid-swing — yes, it’s risky, but that’s the point of practicing the timing.
Exploit predictable mechanics
Every boss in Elden Ring has a crutch — something it does every time that you can weaponize. For this boss, it’s the stagger after a triple chain or the slow recovery after a ground slam. I learned to bait the triple chain with a short, safe poke then roll through the last hit; the boss’s recovery after that is long enough to land two heavy R1s or one charged R2 depending on your weapon.
Also note any summons, minions or environmental hazards that the boss tries to use. If it calls minions, use AoE or wide swings to clear them quickly; if the arena has ledges or pillars, position so the boss can’t corner you.
Phase transitions: stay calm
Phase changes are where most players panic. The boss gets flashier, faster, and meaner — and you respond by flailing. Don’t. Treat the phase transition like a reload: back up, raise shield (if you use one), and clinically observe one full animation to confirm the next pattern. Often a phase starts with a guaranteed heavy or AoE; use that moment to sprint away and reset stamina.
Use audio cues and camera control
Turn the volume up. This game is rich with audio tells — breath changes, weapon clicks, roars — that often precede the big attacks. I found that I could dodge certain instants simply by hearing the intake of breath before the strike. Likewise, clean camera control matters: lock on for tracking but free the camera when you need to watch a wide-screen AoE to maintain situational awareness.
What to do when you mess up
Everyone dies. Twice. Ten times. The trick is to practice recovery instead of treasure-hunting for kills. When I mess up, I immediately reset: find a safe distance, regain stamina, and heal. If you’re out of flasks, retreat to the door, a corner, or an obstacle — any place where the boss has limited approach options and can’t chain you to death.
Also, learn to trade intentionally. Some attacks you can take if you’ll get a stagger hit in return. When you have the hyperarmor from your heavy weapon or a mid-roll window, take one hit to land two heavy swings. It’s a math problem, not a blood-feud.
Practice for the long haul
Finally, accept that this fight is a test of endurance as much as skill. My longest session was an hour of quiet practice, only to get the kill five attempts later. Treat each attempt as data. Note what works and what doesn’t. Adjust talismans, swap out a weapon, tweak your ring setup. Small changes — a tiny extra bit of poise, a faster FP potion — compound over time.
If you want a quick checklist before you walk in: make sure flasks are leveled, talismans optimized, and your ranged option loaded. Warm up with a miniboss or two to get your reflexes sharp. And remember: beating this boss alone is as much about patience and observation as it is about precise inputs. You’ll get there — and when you do, that solo victory feels ten times sweeter.